
Introduction
This article is an example of using the  option to upload one or more files and then directly create Downloads from the uploaded files.
The facility allows uploading multiple files so it is often useful when adding several Downloads. You need to be on jDownloads 4.1.5 or higher.
It is a two stage process (i) upload the files and then (ii) create the Downloads. Note that the target Categories for the Downloads must already exist.
The uploaded files are temporaily stored in root directory jdownloads.
NOTE: In order to use the file Upload then your site must be https: NOT http:
option to upload one or more files and then directly create Downloads from the uploaded files.The facility allows uploading multiple files so it is often useful when adding several Downloads. You need to be on jDownloads 4.1.5 or higher.
It is a two stage process (i) upload the files and then (ii) create the Downloads. Note that the target Categories for the Downloads must already exist.
The uploaded files are temporaily stored in root directory jdownloads.
NOTE: In order to use the file Upload then your site must be https: NOT http:
To find the Files Facility go to the  , next click on
  and then on
 as usual. Then click on .
, next click on and then on as usual. Then click on .Uploading the files
After clicking on the button the initial step as shown opposite appears.
The default main jDownloads directory is jDownloads in the Joomla! root directory. This directory is usually empty.
This allows uploading any files that you wish to make into a Download so click on the button.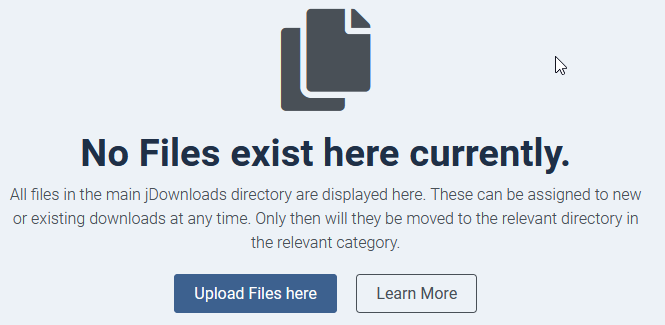
button the initial step as shown opposite appears.The default main jDownloads directory is jDownloads in the Joomla! root directory. This directory is usually empty.
This allows uploading any files that you wish to make into a Download so click on the
button.Please note that the maximum size and type of file that may be uploaded are constrained by the 'Maximum File Size (MB)', 'Upload Validation Mode' and 'Blocked Extensions' parameters. To find these click on  at top right, then click on
  , which is the eigth tab from the left.
For more details on these setup options see the article Uploads Options (opens in a new tab/window).
at top right, then click on , which is the eigth tab from the left.For more details on these setup options see the article Uploads Options (opens in a new tab/window).
Adding files for uploading
After clicking on  the File Upload Manager will be shown. Clicking on the
  button will open the operating system File Manager of your device, such as a Windows PC, to allow selecting the files to be uploaded and added as a Download.
Alternatively you may just drag files on to the screen.Note also that after uploading the first file that the button is now active. In this example three files were uploaded. If you have added a file by mistake then click on the
 button. This removes that file.
When you have added all the files you wish to upload then click on the button. 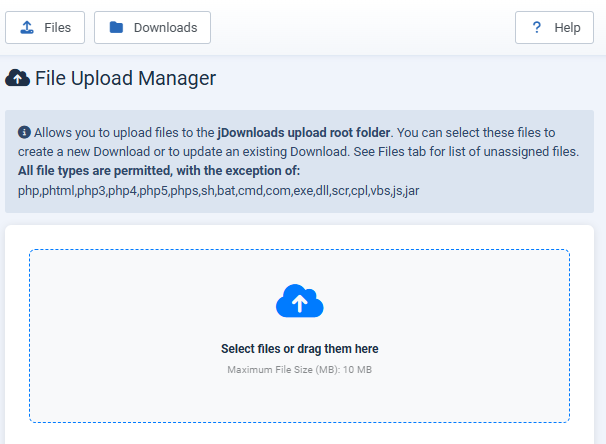
the File Upload Manager will be shown. Clicking on the button will open the operating system File Manager of your device, such as a Windows PC, to allow selecting the files to be uploaded and added as a Download. Alternatively you may just drag files on to the screen.Note also that after uploading the first file that the
button is now active. In this example three files were uploaded. If you have added a file by mistake then click on thebutton. This removes that file.When you have added all the files you wish to upload then click on the
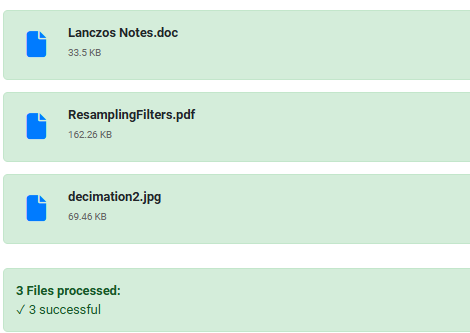
button. The view will now show that the files have been uploaded successfully as illustrated opposite.
Creating the Downloads
The next step is to create the Downloads, obviously one at a time.
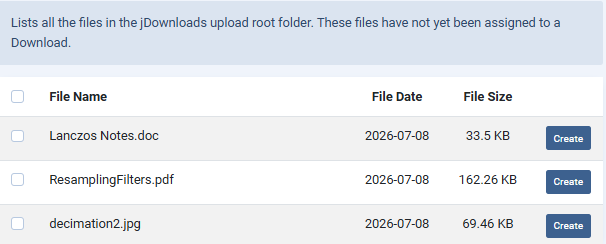
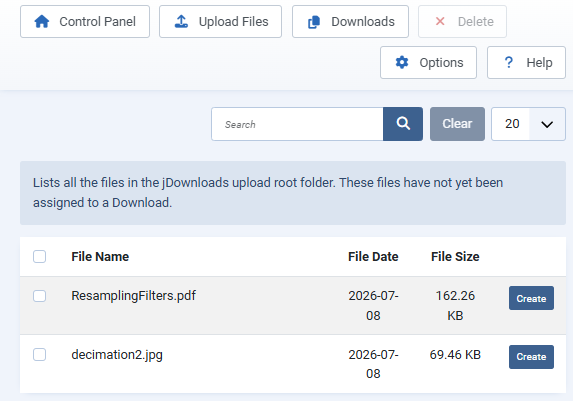
So clicking on the button will now show a list of files awaiting creation into a Download.
So click on one of the buttons on the righthand side.
So clicking on the
button will now show a list of files awaiting creation into a Download.So click on one of the
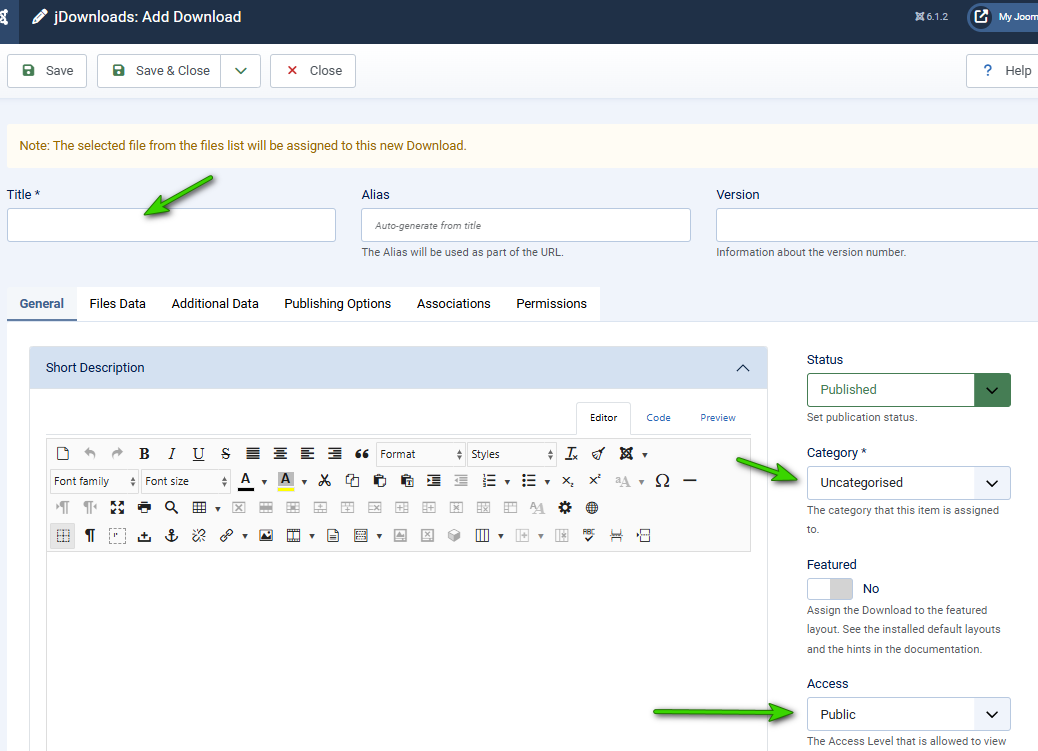
buttons on the righthand side.This will open the usual backend 'Add Download' view but with a notice at the top as shown opposite

On the tab you will see that the relevant file is already selected in the 'Or select file from root area' setting.
Ensure you at least give the Download a Title and that you also select the appropriate category.
When you have set all the relevant information then
 as usual.
This will take you to the normal Downloads view.
.
To continue with the other uploaded files then click on the
button again. This time it shows that as expected there are two remaing files to be added as new Downloads.That is repeat the Download creation procees for the other files.
ColinM March 2021 modified February 2022, July 2023, May 2024, Oct 2024, May 2025, July 2026 -AA
