 ownloads Documentation Centre!
Creating Downloads with the Files facility
Introduction
This article is an example of using the Option  to upload one or more files and then directly create Downloads from the uploaded files.
The facility allows uploading multiple files so it is often useful when adding several Downloads.
It is a two stage process. First upload the files and then create the Downloads. Note that the target Categories for the Downloads must already exist.
The uploaded files are temporaily stored in root directory jdownloads.
Uploading the files
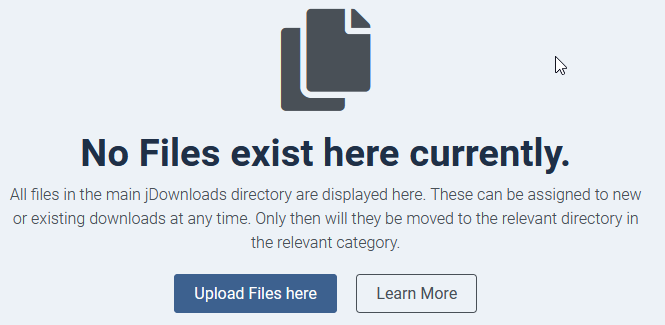
Clicking on the button gives the initial step as shown opposite.
The default main jDownloads directory is jDownloads in the Joomla! root directory.
This allows uploading any files that you wish to make into a Download so click on the button.
The default main jDownloads directory is jDownloads in the Joomla! root directory.
This allows uploading any files that you wish to make into a Download so click on the
Please note that the maximum size and type of file that may be uploaded are constrained by the Options - Uploads tab 'Maximum File Size (MB)', 'Allowed Image Extensions' and 'Other allowed File Extensions'.
For more details on these setup options see the article Uploads Options (opens in a new tab/window).
Adding files for uploading
As indicated files may either be dragged onto the panel or you can use the Add button at the bottom left.
Clicking on the
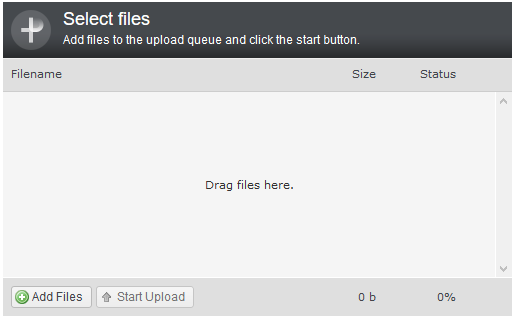
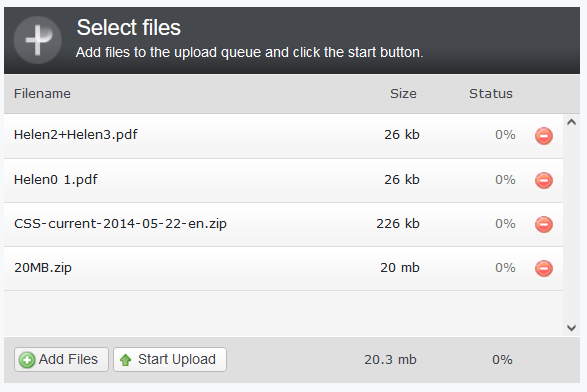
As each file is included in the panel then its name and approximate size of the file are shown.
The status is shown at 0% as they have not yet been uploaded.
Note also that the Start Upload button is now active.
If you have added a file by mistake then click on the button.
The status is shown at 0% as they have not yet been uploaded.
Note also that the Start Upload button is now active.
If you have added a file by mistake then click on the
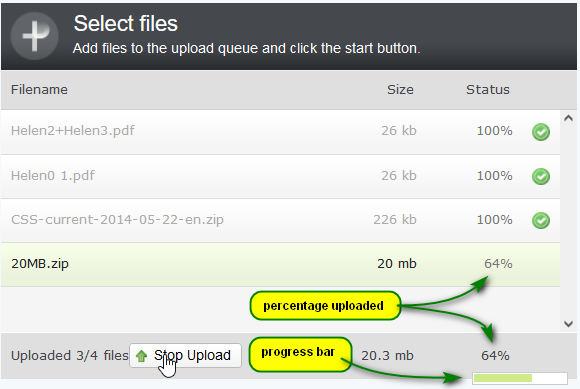
Start uploading
Click on the  to initiate the Uploading.
Whillst the files are uploading you will see a progress bar and the amout uploaded.
As the upload is quite quick then typically a total size of say more than 4MByte is needed to actually see the progress bar and the percentage uploaded.
If it is a small total size it might be to quick to notice!
Whillst the files are uploading you will see a progress bar and the amout uploaded.
As the upload is quite quick then typically a total size of say more than 4MByte is needed to actually see the progress bar and the percentage uploaded.
If it is a small total size it might be to quick to notice!
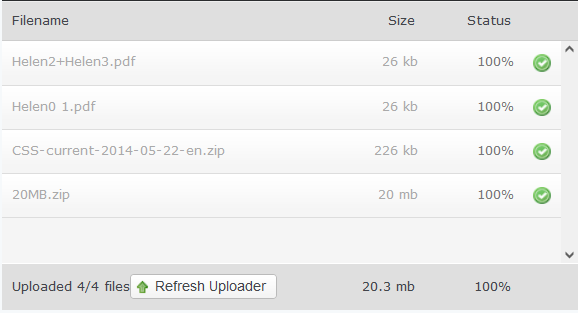
When the uploading has completed, it will indicate 100% and show the status as successfull
If you click on the
The file is also checked for size and a valid extension.
For example if it has an invalid extension, that is one not specified in the jDownloads 'Options - Uploads - Other allowed File Extensions' or ' Allowed Image Extensions ', then you will get an error message such as shown opposite.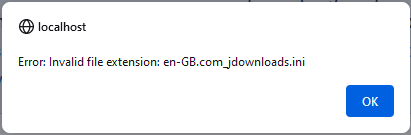
For example if it has an invalid extension, that is one not specified in the jDownloads 'Options - Uploads - Other allowed File Extensions' or ' Allowed Image Extensions ', then you will get an error message such as shown opposite.
Using FTP to Upload
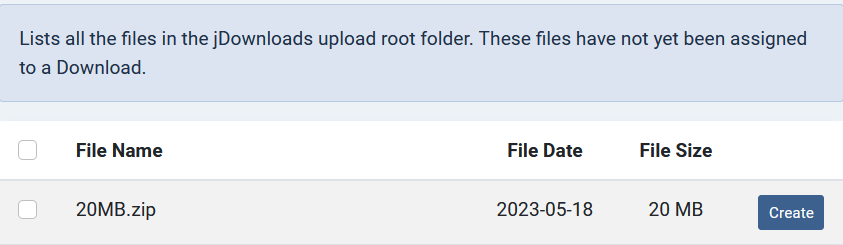
To avoid any upload limit then an alternative is to use FTP to upload the file to the jdownloads folder in the Joomla root. This folder has the top level Category folders and folders like _preview_flies, _tempzipfiles and Uncategorised.
In the example opposite FTP was used to upload a 20MB file The actual limit set in jDownloads and php.ini was 2MB.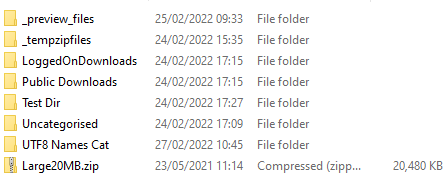
In the example opposite FTP was used to upload a 20MB file The actual limit set in jDownloads and php.ini was 2MB.
If we now select the
Creating the Downloads
The next step is to create the Downloads.
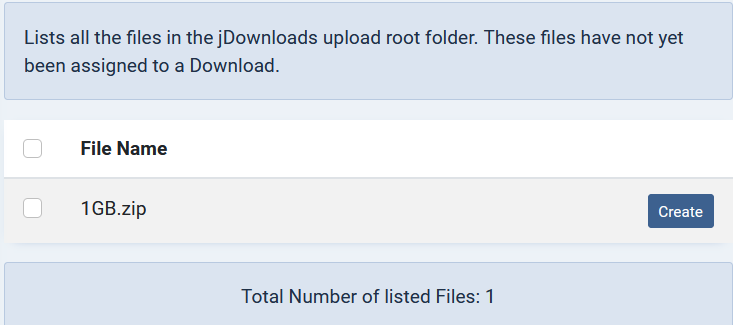
So clicking on the Files button which will show a list of files awaiting creation into a Download.
If one of the files is not required, maybe it was uploaded by mistake, click on the small box next to the relevant file name and use the button, which is located on the view header, to remove the file from the list.
You will be asked to confirm so click on OK to procede.
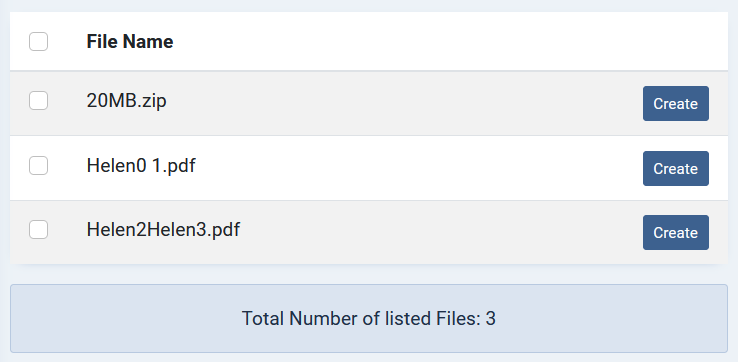
In this example the 1GB.zip file was deleted.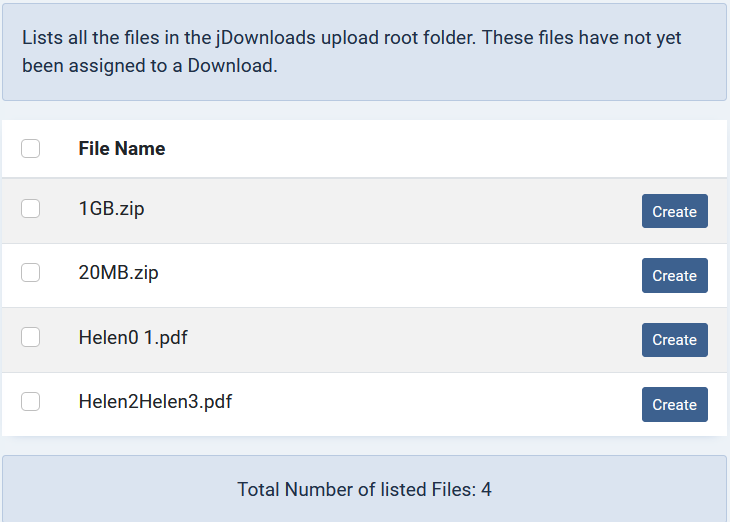
If one of the files is not required, maybe it was uploaded by mistake, click on the small box next to the relevant file name and use the
You will be asked to confirm so click on OK to procede.
In this example the 1GB.zip file was deleted.
The view will now be like that opposite.
Next click on one of the
This will open the usual backend 'Add Download' view but with a notice at the top as shown opposite

On the
 tab you will see that the relevant file is already selected in the 'Or select file from root area' setting.
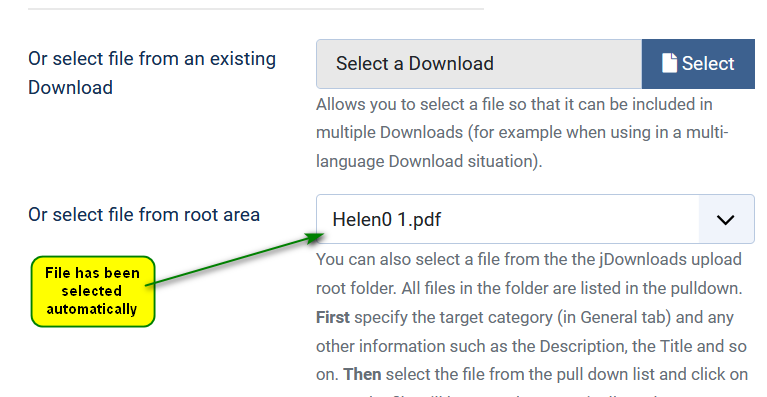
Ensure you at least give the Download a Title and that you also select the appropriate category.
When you have set all the relevant information then
This will take you to the normal Downloads view.
.

To continue with the other uploaded files then click on the
Repeat the Create Downloads sequence for each of the remaining uploaded files.
ColinM March 2021 modified February 2022, July 2023